About this deal
This special bit saves time because it bores a pilot hole for the screw and a countersink hole for the screw head. Many cabinetmakers construct their own drilling jigs. As indispensable, must-have tools, drilling jigs help you make reliable, accurate and repeatable holes in your woodwork. They serve as both clamps to secure your work and guides to make sure you drill holes in exactly the right location with the proper angle. Cross Peen Hammers: Instead of a curved, two-pronged fork on one end like a conventional claw hammer, cross peen hammers have a straight, solid wedge. Cross peen hammers are delicately-balanced persuaders for fitting metal parts including setting plane blades. Most scribes are metal and use a sharp point to inscribe a prescribed pattern into a new surface. Some scribes have pencil-like points to transfer erasable marks. You can also buy complex scribes that are similar to geometry compasses. With them, you can scribe angles, circles and ovals. 7. High-Speed Hinge Placement Tool
Kitchen Accessories | Kitchens | Screwfix Kitchen Accessories | Kitchens | Screwfix
This guide is designed to walk you safely through the process of installing base and wall kitchen cabinets. If you’re in any doubt, please seek advice from an expert and always follow the manufacturer’s instructionsNot all drill bits are the same, by any means. You’ll need an assortment of drill bits if you’re serious about cabinetry. Here are the three common drill sets that you need in your toolkit: Start by making a light pencil mark 19-1/2 in. up from the lower cabinets (it’ll be 18 in. after the countertop is installed) and then mark the stud locations using the ones below as a guide. Next, transfer the cabinet positioning lines from below (Photo 12) and screw a 1×2 ledger to the studs even with the layout lines. It’s best to prestart the cabinet screws before hoisting the cabinets up onto the ledger. Photo 13 shows an easy method to get the screws in the right place using the cabinet positioning lines and the stud locations on the wall and then transferring them to the cabinet. You’ll often find that a cabinet, especially a narrow one, will have only one stud behind it. Don’t worry; the other cabinets will help support it too. Level and screw the first peninsula cabinet to the adjoining standard base cabinet. You’ll probably have to fill a 1/4-in. gap with shims before screwing it to the wall studs (Photo 8). If the first peninsula cabinet is only 2 ft. wide, you may have to clamp and screw filler strips to the frame so doors and drawers in the next cabinet will have operating clearance at the inside corner. This should be marked on your plan. Most commercially available drawer pull jigs have multi-position, pre-set hole locations. Most have six standard off-sets as well as a common center spot. These inexpensive tools save you time during tedious pull attaching. 12. Drill Set Position the next cabinet and run the top screws partially into the studs to hold it in place. Align the frames, clamp them and screw the cabinets together. Then screw the cabinet to the wall.
Cabinet Fittings | Kitchen Accessories | Screwfix
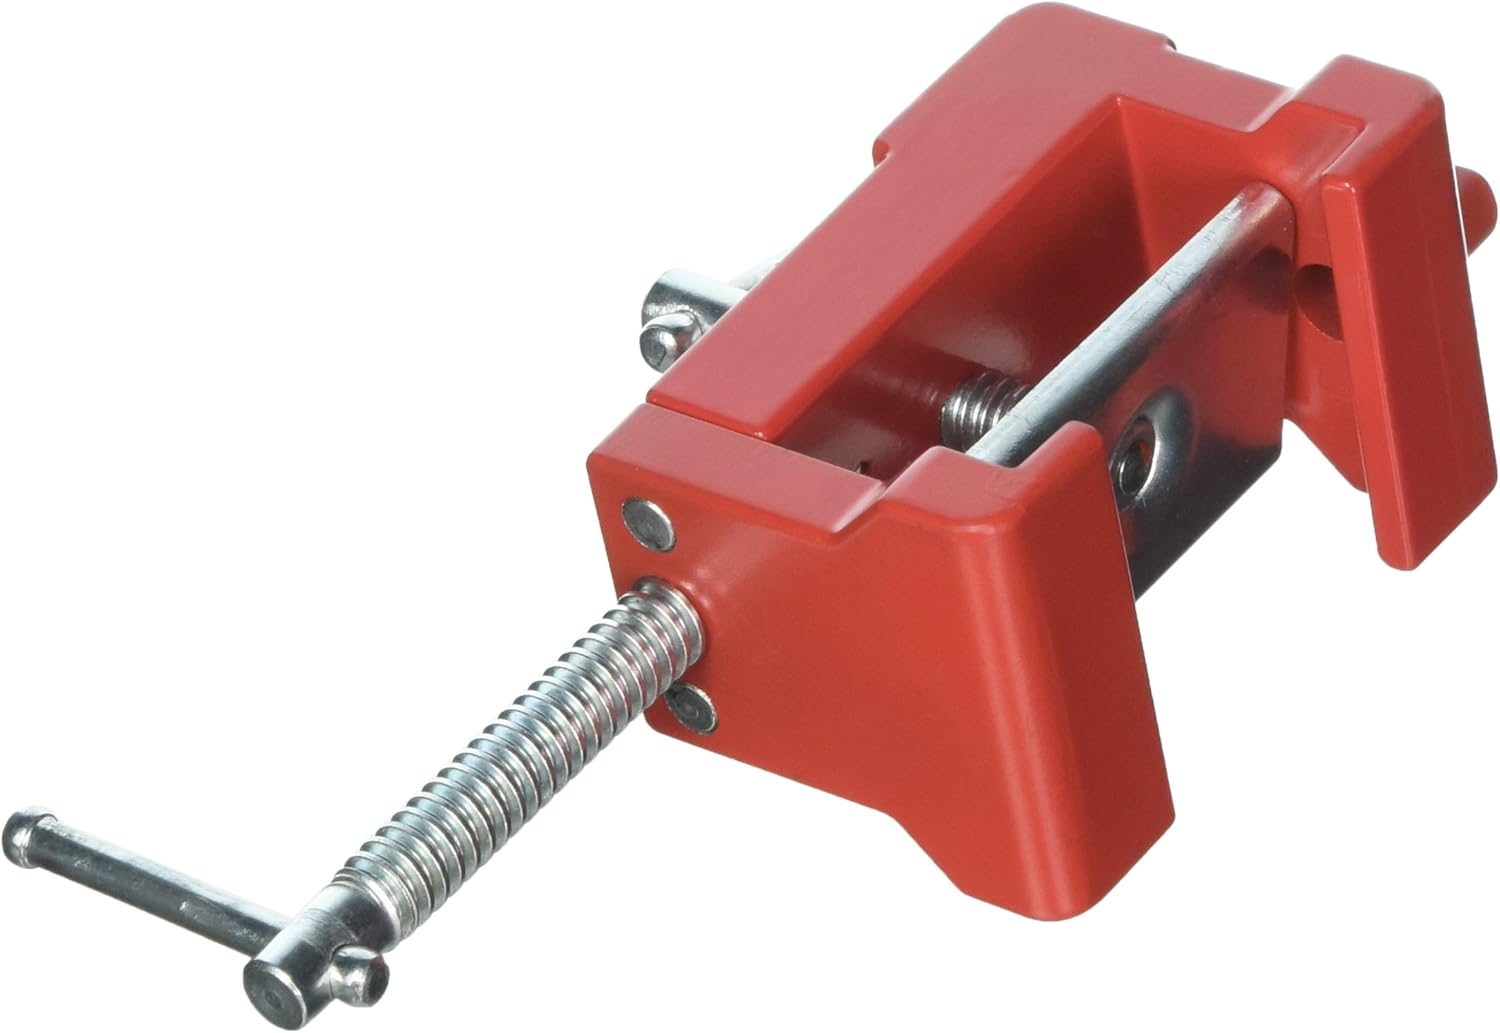
Most kitchen floors are very flat, especially in homes less than 40 years old. But before installing cabinets, it’s always best to confirm that by looking for the highest spot on the floor anywhere a cabinet will sit. You’ll measure up from that spot and draw a level line to define the top of all of the base cabinets (Photo 1). Find that spot with a straight 8-ft.- long 2×4 (or shorter to fit between the end walls if needed) and a 4-ft. level. Rest the 2×4 with the level on top about 1 ft. away and parallel to the wall and shim the 2×4 until it’s level. Then mark the highest spot on the floor and repeat near any other walls that’ll have cabinets. Continue until you find the highest spot. If you have two high spots, rest the board on both and find the highest one. Measure up the wall behind that spot exactly 34-1/2 in. (standard cabinet height) and mark the wall at that point. Using that mark as a starting point, draw a level line along the walls wherever base cabinets are planned (Photo 1). Draw a level line on the wall 34-1/2 in. above the highest spot on the floor. Draw vertical lines to mark each cabinet location, label each cabinet’s position on the wall and find and mark the studs. There are countless clamp designs available at your favorite tool supply store. There’s a good reason for that. It’s because there’s no such thing as a one-size-fits-all clamp. There are too many different clamp applications. Here are the most common clamps you’ll find in a cabinetmaking workshop:Empty the provided fittings into a bowl or keep them sealed in their plastic bags so they don’t get lost
 Great Deal