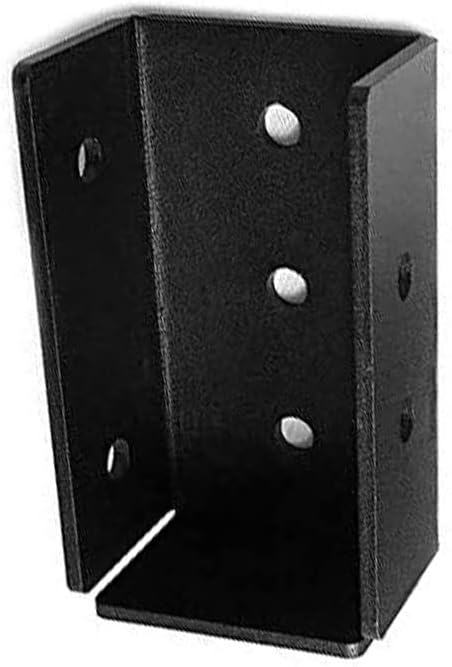
Framola Extra Strong British Made Timber Rafter U Shape Bracket - One Piece Solid Steel Indoor Outdoors Rafter Brackets - Durable and Rustproof - Black (4" x 2")
£9.9£99Clearance
Shared by
ZTS2023
Joined in 2023
82
63
About this deal
When it comes time to install your rafters, consider rafter size, cost, and especially safety. Be sure your lumber and rafter spacing adheres to the load chart.
Attaching the rest of the rafters requires you to merely line up your rafters in the connectors you’ve already installed. If you measured correctly, this is the easy part. I would suggest you install the rafters in pairs. If you do just one side, all the way down, then the ridge board can come loose or be distorted from all the hammering in the same direction. Attach End Rafters For similar reasons, you should also consider using collar ties if you plan on using rafters. A collar tie is a length of lumber that attaches to each opposing rafter near the peak, preventing your rafters from spreading apart. Collar ties also take the stress off of your wall plate and rafter joint. Part of this has to do with creating a birdsmouth cut to facilitate the joining of top plate and rafter. A birdsmouth cut involves taking a notch, shaped like a bird’s mouth, out of each rafter where it meets the top plate.We have carefully selected 5 popular sizes of wood, should you need custom work, please get in touch with us. Let’s begin by comparing these two different roof styles. Rafters are beams that run from the peak of the roof to the top plate of the supporting walls. They join at the peak of the roof by connecting to the opposing rafter or to a ridge beam that runs the length of the peak of the house or shed. Rafters are installed piece-by-piece during the construction of the roof.
As with rafter-style roofs, toenailing is one of the most common ways of attaching a truss-style roof to a wall plate. Toenail a truss into the top of the wall plate by nailing through the sides of the bottom chord at a 30-degree angle. The handiest tool in your toolbox for this job will be the speed square. You’ll notice that your speed square has regular measurements on one side and degrees on the other. You’ll also see that the end with degrees has a set of numbers, 1 – 24, just above it.
x2" / 100mm x 47mm 5"x2" / 125mm x 47mm 6"x2" / 150mm x 47mm 4"x4" / 100mm x 100mm 6"x6" / 150mm x 150mm Remember that for rafters, you’ll always use a ridge beam one size larger. So in our case, 2×6. If you use 2×6 lumber for rafters, your ridge beam will be 2×8. Determine the Pitch of the Rafters Let’s get down to business and build some rafters. Now that you’ve got a decent idea of how big your rafters are going to be, we’ll go through how to build them step by step.
*So you can easily identify outgoing links on our site, we've marked them with an "*" symbol. Links on our site are monetised, but this never affects which deals get posted. Find more info in our FAQs and About Us page.
 Joined in 2023
  82
82  63
63
