About this deal
I have created this part of the guide to try and make these emulators have similar shortcuts so that the system feels a bit more unified. At this point, you can copy your games into their appropriate folders by plugging into a computer and tapping File transfer Installing Retroid emulators after setting up / re-entering the setup wizard: Go to Settings > Handheld Settings > Advanced > Re-enter Setup Wizard > OK
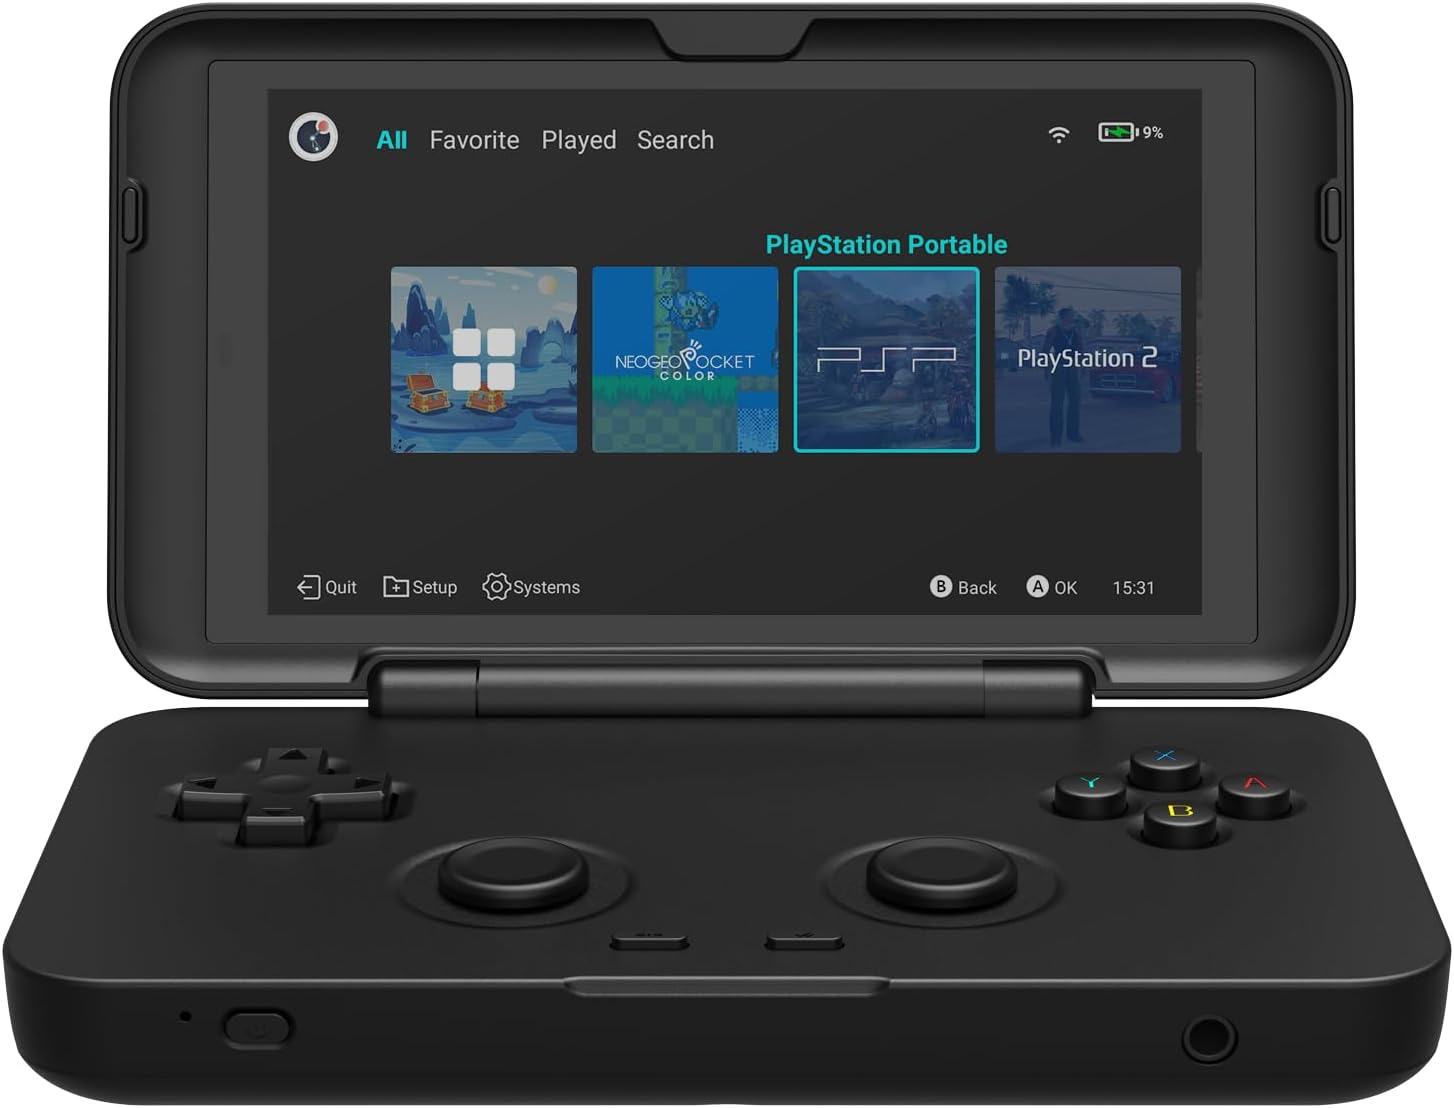
Dolphin (GameCube and Wii) –note: I decided to use the Retroid version below due to it allowing 0.3 and 0.5 resolution, allowing higher end games to play, albeit at a low resolution. NAVIGATION BUTTONS: L1 and R1 switch between menu sections: Platforms, widgets, highlights, apps, settings | L2 and R2 navigate through menu items within those sections mentioned above. For example, if you are in PLATFORMS, pressing R2 and L2 will move through the gaming platforms.Make button sounds: Settings > Video and Sounds > if you don’t like the button sounds you can disable it here. The following table outlines the most important emulators you will need to get started. You don’t necessarily need them all. I have indicated where to get each emulator and some specific notes on some of them. Emulator Bios files are copywritten files that came with the original hardware to make the games operate. Although they are copywritten, you can actually find them quite easily.
GRAPHICS> vulkan (the GitHub I recommend below says OpenGL but I have found Vulkan to work well for God of War and Assassin’s Creed) Screen Flexibility: The adjustable screen angle enables you to find the ideal viewing position, ensuring optimal comfort and visibility during gameplay.NOTE: I decided while making this that I will use the Retroid version due to it offering lower resolutions for better performance. Choose to install ScummVM, Redream, , AetherSX2, PPSSPP, M64 Plus FZ, Moonlight, Citra and Dolphin for Handheld because these are the ones that I found were nicely set up for the RP3+ by Retroid PART 3 – RETRO GAME SCREEN SETTINGS, GAMEPLAY PERFORMANCE TWEAKING, MODS AND VIEWERS’ QUESTIONS My screen settings for all systems Disable Confirm Quit Settings >> Confirm Quit (disable) – this way you don’t have to press your quit hotkey twice to exit a game. The D-Pad is responsive and accurate, with diagonals easy to reach but not accidentally triggered. The face buttons have a lot of travel and feel a touch wobbly, but are solid in use. The rear triggers – including analogue L2 and R2 – are fine, but we found using them a tad tiring during extended play.
To disable the side menu, swipe down from the top, swipe to reveal the system icons like wifi etc, turn “Floating Icon” OFF If you really want a grip, Retroid sell an official grip but there are also 3D printable files out there to consider. Compiled version from Retroid seems good – you can install this at initial setup of your device. Use the paid Gold version for better performance and features like auto resume. Watch the video for a more in-depth coverage of this. Remember to save the shader and the override. After you have mapped the above your X-box controller (if you chose this option) buttons will react differently as A and B
Please Note
With emulators, you’ll have no trouble with systems up to the Dreamcast, barring the Atari Jaguar and Sega Saturn, which are known for being a pain to emulate. With tweaks, you can go further –PSP titles, and some PS2 and GameCube games. But that depends how much you’re willing to fiddle and accept a sometimes compromised experience. Note that 720p HDMI out and Bluetooth support enables the Flip to ‘replace’ ageing retro hardware when you want a bigger-screen experience. Ideal if all your Dreamcasts are dead (yet again), or you fancy playing your favourite handheld titles upscaled on the telly. Superior Protection: The clamshell design affords enhanced protection for the screen and buttons, ensuring your device remains in pristine condition even after extended use. An SD card – I have a 128GB b ut I actually recommend a 256 or 512GB for the bigger files like Dreamcast, Gamecube, PS1, PS2 etc. Tap on each item and assign the same button (see my video) – below are the two that may be confusing: The setup wizard will finish off any other tasks and you will be launched into the Launcher you chose. Adding games to your micro SD card
Related:
 Great Deal