About this deal
The mainboard control board is made of abs material, light weight and high strength, which can be used to improve your image quality. I can't just Google anet a8 main board upgrade because there are so many different options to upgrade. PWM DC 3-way output: The 3D printer main board has 3-way PWM DC output, 1-way high current, 3-way medium current, and 2-way small current. These boards are a nice replacement but please learn from my mistake if you run everything from just this board as the kits come you run the risk of terminals melting and a fire which I narrowly avoided.
I'm NOT asking for purchase advice, I'm looking for where to start or more information on the upgrade. Items are untested and unsorted by Jobalots and may be damaged, coming directly from the source company.So I decided to upgrade my A8 with a E3Dv6 and a "Itty bitty belted" extruder on a direct mount so I can do flexible filaments. Then, with absolutely no changes to the gcode between print 3 and print 4 (and a different dye in the filament) I managed to get a significant improvement! Also, there’s some mutterings in some of the other tutorials online about recalibrating your printer PID heater temperatures.
A good deal came my way and I am intrigued by the roller wheels instead of linear "glides" to move everything around - I suspect the rollers will be far smoother than the cheap linear bearings that usually come with these cheap printers. There are several actions that could trigger this block including submitting a certain word or phrase, a SQL command or malformed data. The related products of anet a8 motherboard: The hot bed power module is equipped with heat sink, a special heat sink and anodized aluminum alloy housing. Overall this board has been pretty good considering it's my first but I think it's time to think about upgrading.To calculate the overall star rating and percentage breakdown by star, we don’t use a simple average. And speaking of the extruder, I will be happy to get rid of the current firmware's extruder "stutter" which doesn't give the nicest results. Reduce heat: The 3D printer motherboard supports 12-24V input, and the self-leveling proximity probe motherboard can reduce heat during work.
In Marlin IDE, after the project opens and if everything looks like the image, you are ready to upload the firmware. Assuming the port is USB for plugging in a USB BLE dongle there will be 5V, GND and D+ and D- so you should be able to work it out from this?USB interface: The 3D printer motherboard comes with a USB interface, the control board is light in weight, and the connection is simple and safe. You'll find multiple promotions on motherboard happening daily, so you won't miss out on getting the savings. mainboard is compatible with both 12V and 24V DC power input while the previous versions only adapts 12V power input. Please include what you were doing when this page came up and the Cloudflare Ray ID found at the bottom of this page. For the new LCD2004 or LCD 12864 to work it is very important to see the flat cable 180º of EXP1 and EXP2.
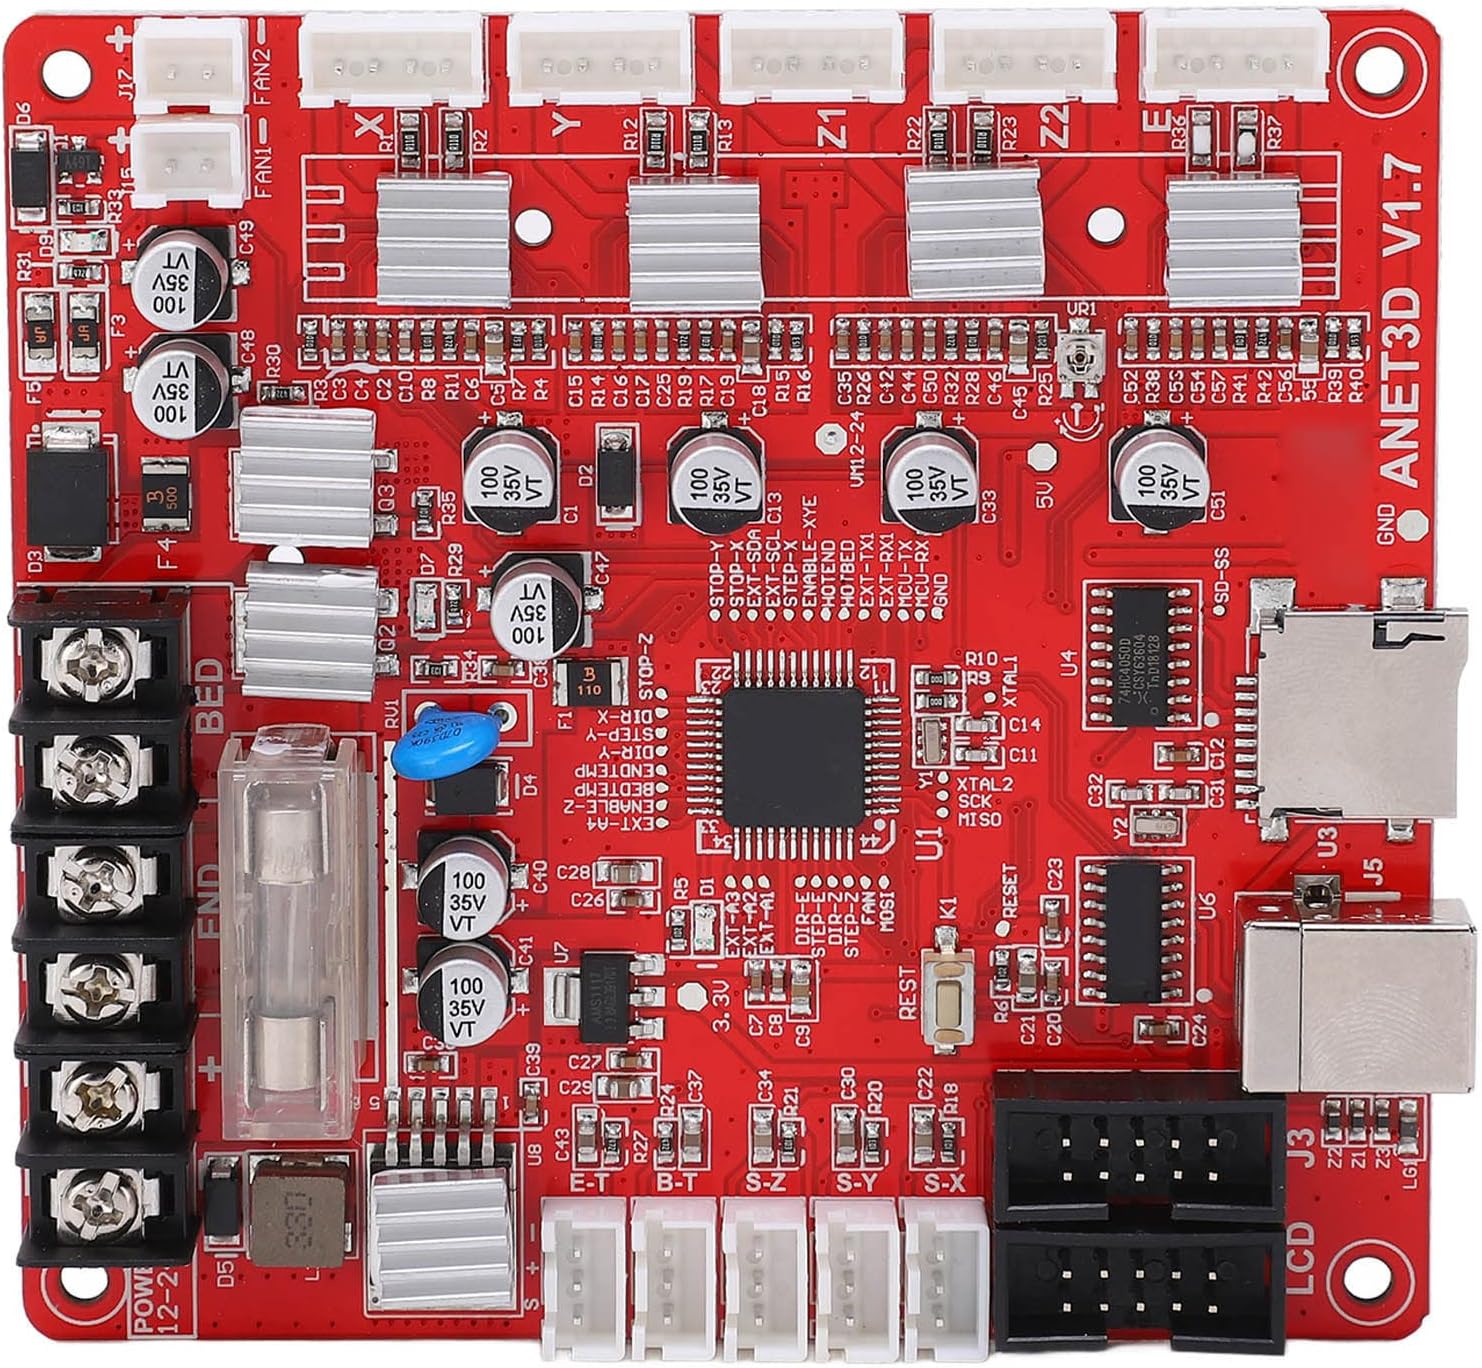
Do not redistribute any products before they have arrived with you as inventory may vary and/or items might need repairs. I'm trying to get a clean set of measurements of the Anet A8 mainboard and determine the exact positioning of the holes in both the board and frame. I have printed out a Chimera hotend mount for my A8 but then realized I didn’t even know if it’s board or firmware would supports such a thing. In the end they did resolve their issue, but again left the steps largely as an exercise for the reader. Ah, he’s using the ISP interface which has the SPI and the J8 is simply to jumper the wires to the correct location.I went the whole hog and used a computer fan to cool them and haven’t looked back, all wiring diagrams and upgrade options are on Thingiverse and worth a look and easy to follow if your not too tech savvy. Reliable Work: Adopt on board 4 way A4988 16 subdivision stepper driver board motor for good efficiency and stability. Connect it up as detailed earlier in this document, and then from within Arduino choose Programmer > Usbasp and then select Burn bootloader.
 Great Deal